Contactum works with Kit (formerly ConvertKit), an email marketing tool that collects customer information and automatically adds it to your Kit Subscriber
List through Contactum submissions.
This guide will walk you through the process of integrating Kit (formerly ConvertKit) with Contactum on your WordPress site.
Enable Kit Integration #
First, go to Integrations from the Contactum navbar and use the search bar to find ConvertKit. Install the ConvertKit integration module.
After installation, activate ConvertKit by switching on the toggle.
Once activated, you’ll see the Settings icon for ConvertKit on the right-hand side — click on it to continue.

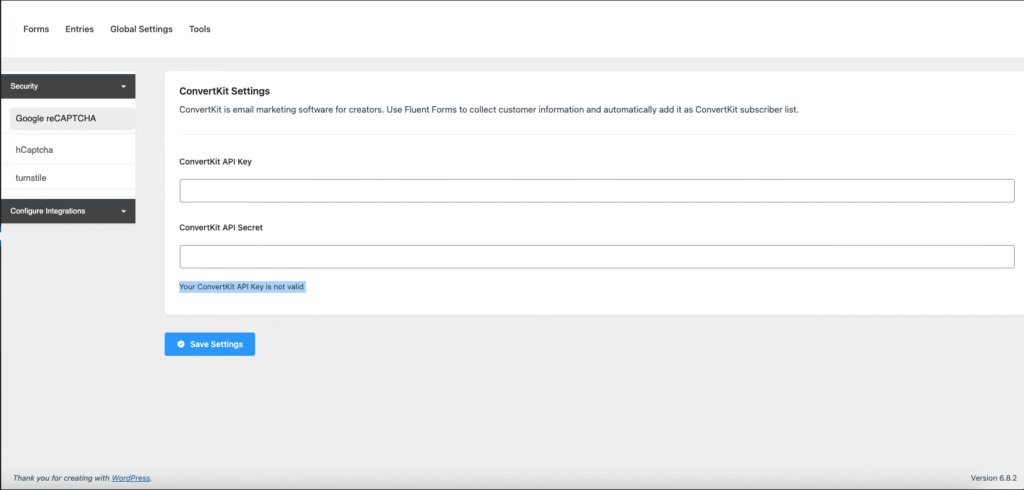
Once you enable ConvertKit, you will be asked for the ConvertKit API Key and ConvertKit API Secret of your ConvertKit Account.
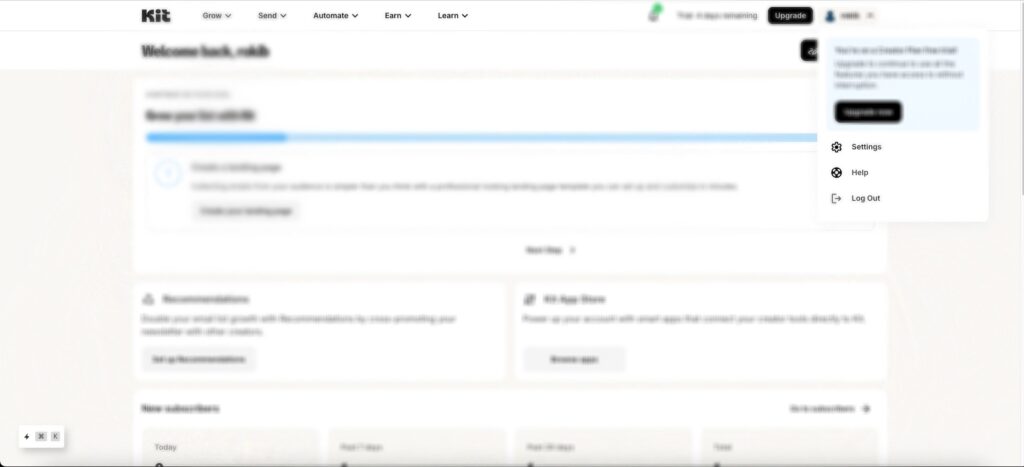
To get the Kit (formerly ConvertKit), API URL (formerly ConvertKit), and API Key from kit, log in to your Kit account, go to the Profile Menu from the top right corner, and click the Settings button.
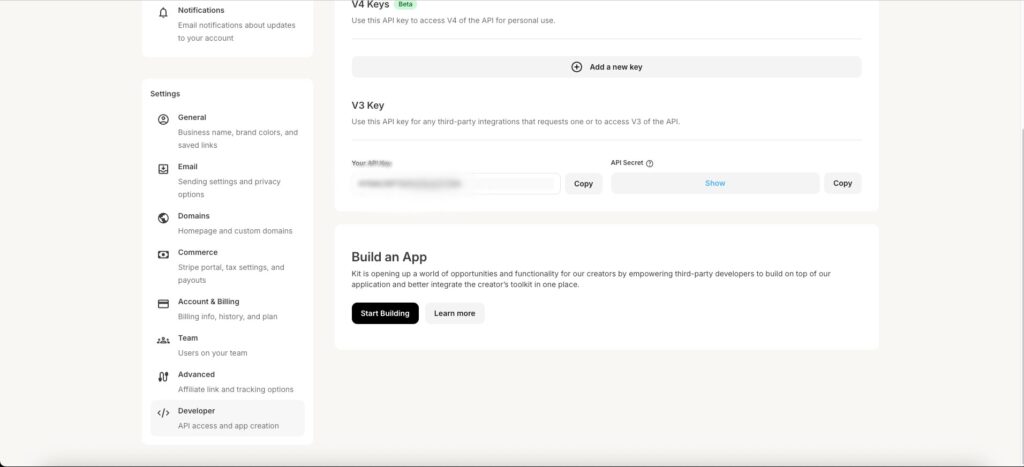
Next, go to the Developer tab to find your API Key and API Secret. Simply click the Copy buttons to copy them.
Connect Kit with Contactum #
Go back to the Kit Settings page under the Configure Integrations tab in the Settings section of the Contactum menu.
Paste the API Key and API Secret you copied from Kit into the API Key and API Secret field, then click Save Settings to activate the Kit integration.
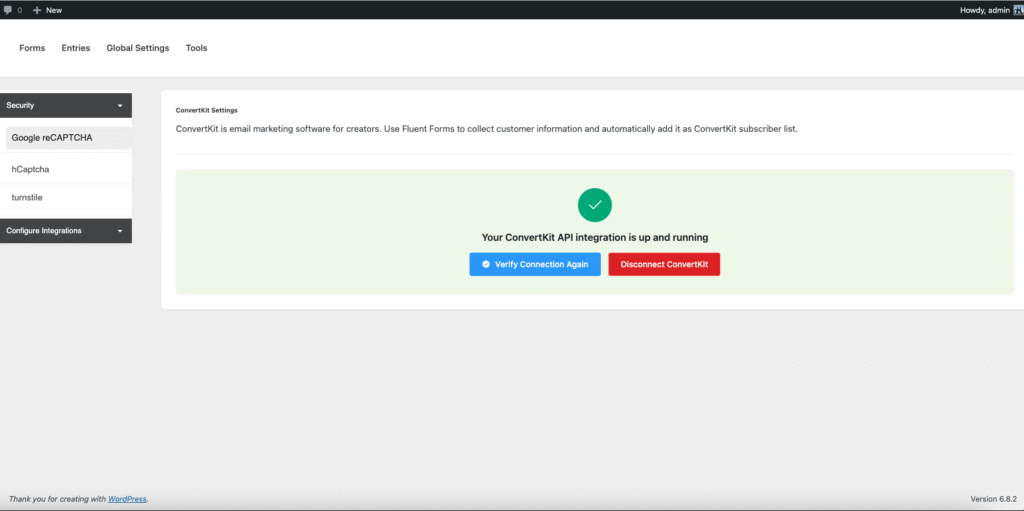
Your Kit account is now successfully connected to Contactum.
You can also verify the connection or disconnect it anytime by clicking the Verify Connection Again or Disconnect Kit buttons.
Integrate Convertkit into Contactum # #
To integrate Convertkit with a specific form in Contactum, follow the steps below with screenshots –
First, go to Forms from the Contactum menu, choose the form where you want to add Convertkit, and open the Integrations tab.
Enable Convertkit, then click the icon on the right side of the item box. A pop-up will appear—fill in the required fields and save the form.


